MAKE JOURNAL
Choose a sticker for the surface, not just the shape
A practical brief for bottle labels, shop graphics and cut lettering, including surface tests and the difference between printing and cutting.
Start with the object
A label on a dry cardboard box has a different job from a label on a chilled bottle. Tell MAKE what the surface is made of, whether it is flat or curved, and whether it gets wet, oily, hot or cold. A photo helps, but a test on the actual surface is a better way to check adhesion.
Measure the usable area
Measure the space available after allowing for seams, shoulders, lids and curves. For a wraparound label, check the container circumference and decide whether the ends should meet, overlap or leave a gap. Send width and height in one unit, the number of identical labels, and how many designs there are.
Printing, cutting and finish
A printed rectangle, a shaped printed label and separate cut letters are different jobs. For shaped labels, supply the desired cut outline separately from the visible artwork. Ask whether labels will be supplied individually, on sheets or in another agreed format. Choose matte or gloss after considering readability and the packaging surface.
White on transparent material
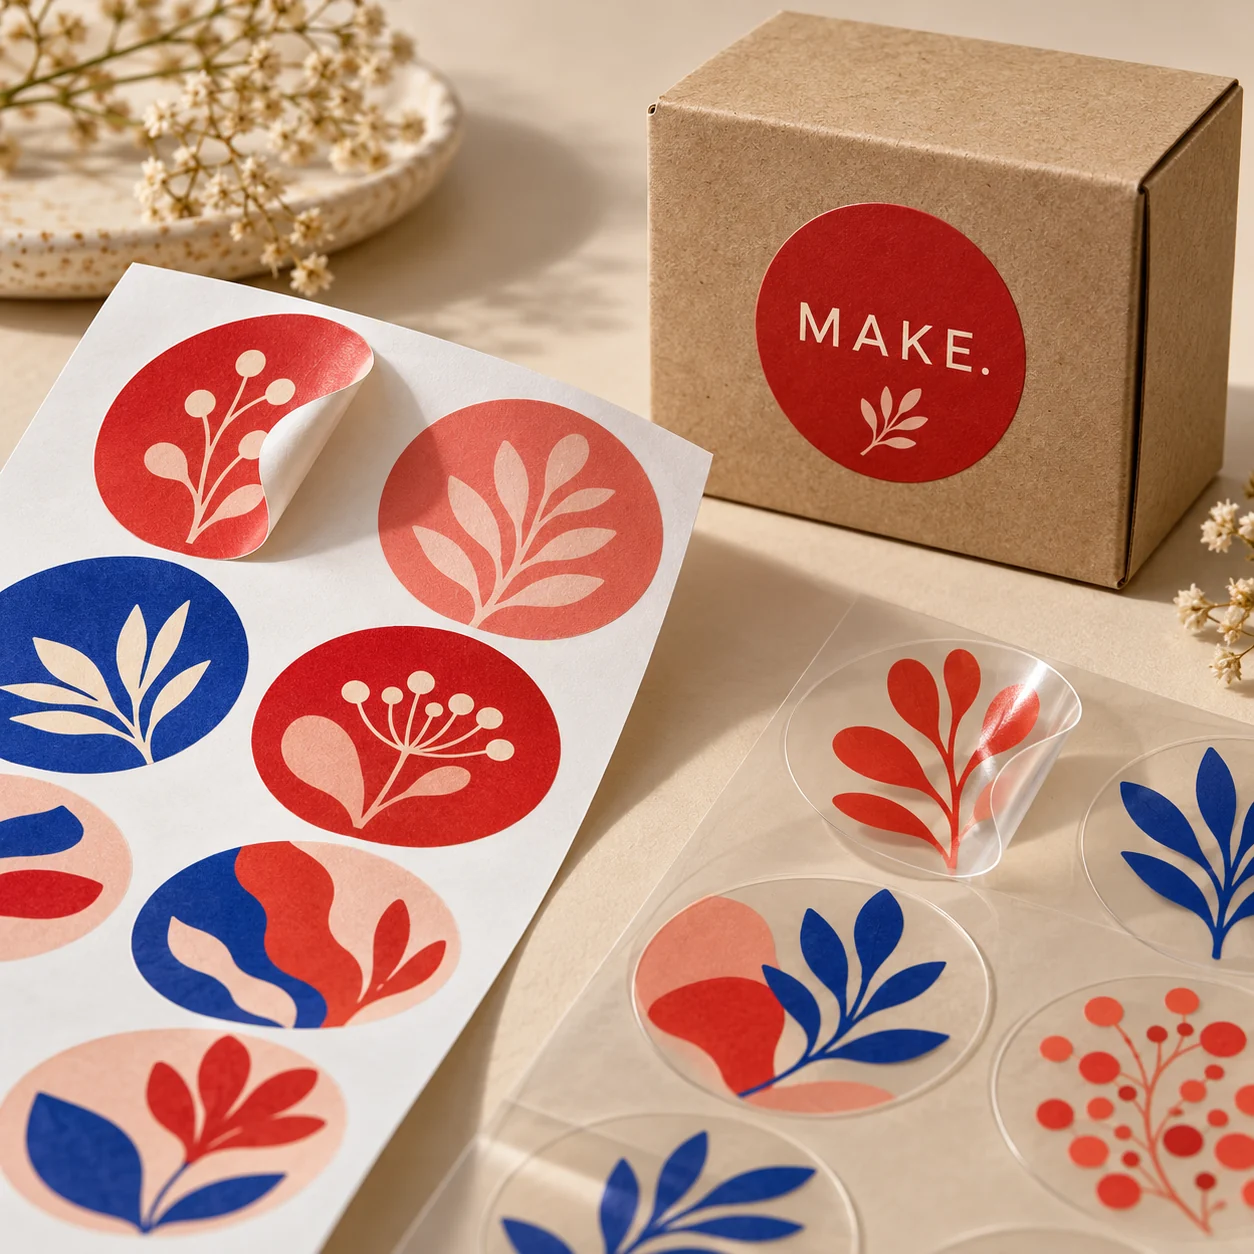
A clear film lets the background influence the image. If white text or an opaque logo is important, mention it in the brief so the proposed process can be checked. Do not assume white areas in a file will automatically print white.
Before approving
Check small text at actual size, scan the QR code from a printed test where practical, and verify spelling and contact details. Ask what the quote includes: material, printing, cutting, finish and delivery. MAKE confirms the selected specification; a catalogue picture alone does not establish water resistance or outdoor life.